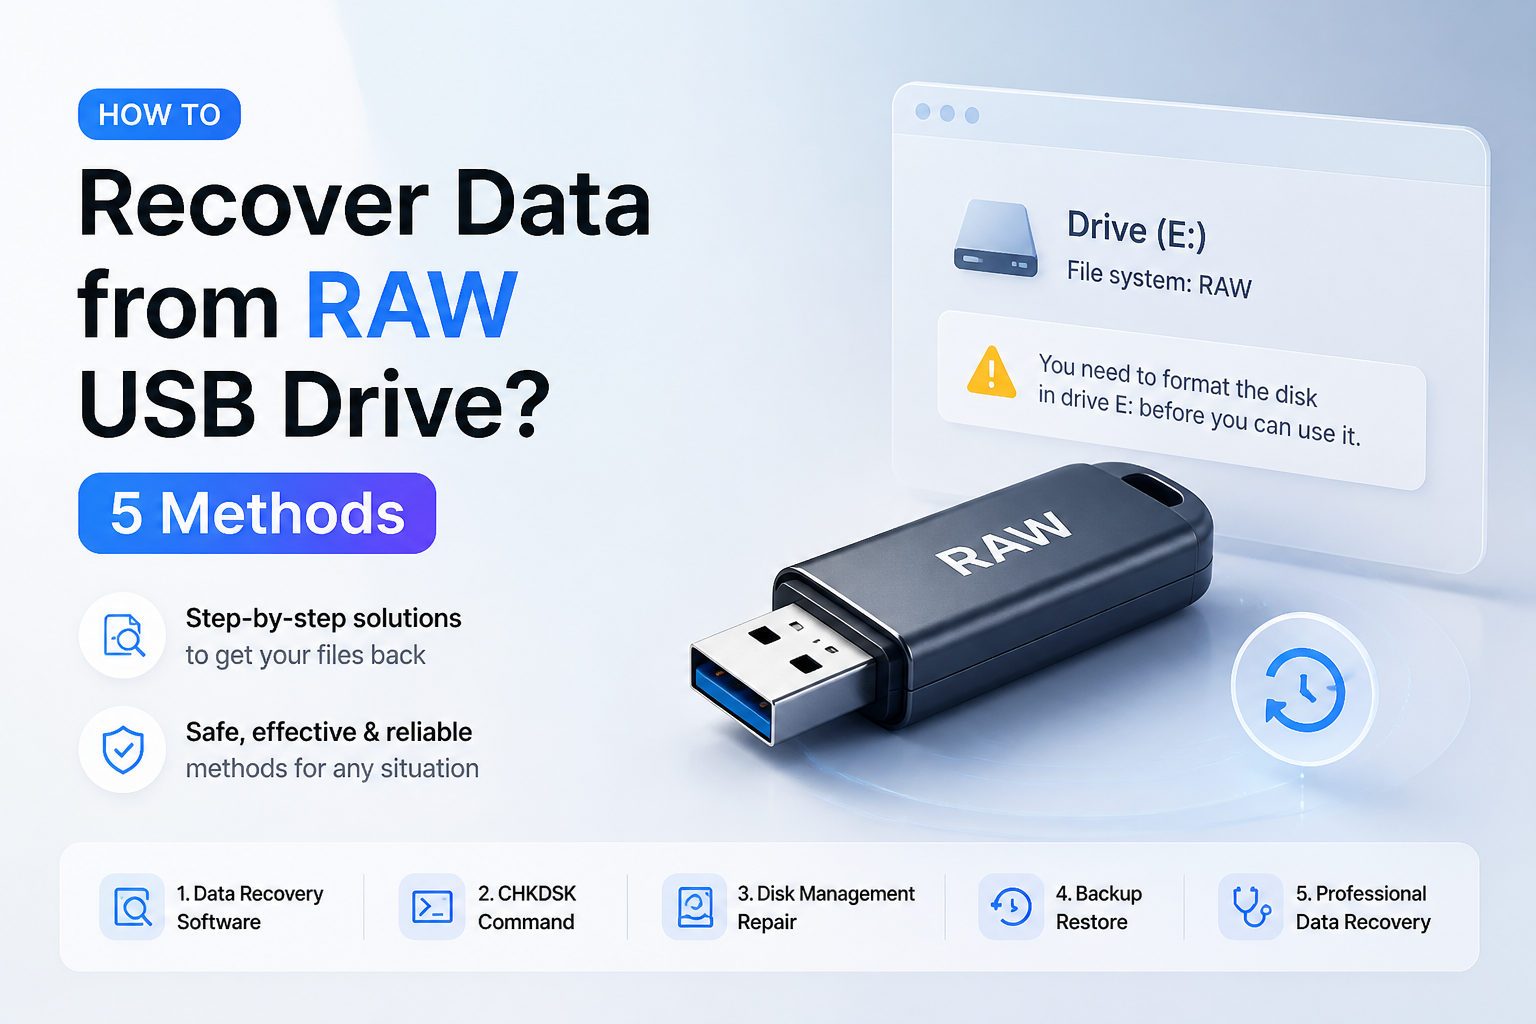
How to Recover Data from RAW USB Drive? 5 Methods
A RAW USB drive may still contain your files even though Windows or macOS cannot open it. Start with a non-destructive scan, then move to imaging or specialist recovery if the device acts unstable.
Do not format the RAW USB drive. Scan it with Disk Drill, preview the results, then recover files to a different healthy drive. If the USB device disconnects or reports read errors, create a byte-for-byte image before running a full scan.
Stop writing to the USB drive. Formatting, running CHKDSK, initializing the disk, or saving recovered files onto it can overwrite recoverable data. If the device clicks, overheats, or repeatedly disconnects, unplug it plus consider a recovery lab.
Scan a RAW USB Drive → Disk Drill
Scans inaccessible USB storage · Previews found files before recovery · Available for Windows plus macOS
When Software Recovery Is Unsafe for a RAW USB Drive
Skip DIY scans when the USB drive becomes hot, has a loose connector, disappears during light use, or causes the computer to freeze. Those symptoms can point to a hardware fault rather than ordinary file-system corruption.
One scan may be harmless for a stable device, but repeated reads can push failing flash memory past the point where it responds. If the files cannot be replaced, a lab should inspect the drive before more power cycles.
Choose the Right RAW USB Recovery Method
Start with the least invasive option that fits the drive's condition.
| Method | Best for | Time | Success rate |
|---|---|---|---|
| 1. Scan the RAW USB Drive With Disk Drill TRY FIRST | Stable drives visible to the computer | ~15–60 min | ● 85% |
| 2. Create a Disk Image Before Scanning | Unstable drives or read errors | ~30 min–several hours | ● 78% |
| 3. Carve Files From the USB Drive With PhotoRec | Free signature-based recovery | ~30 min–several hours | ● 68% |
| 4. Rebuild the Lost Partition With TestDisk | Lost or damaged partition metadata | ~20–90 min | ● 55% |
| 5. Send the USB Drive to a Recovery Lab | Physical faults or critical files | ~3–14 days | ● 72% |
Top 5 Methods to Recover Data From a RAW USB Drive
01 Scan the RAW USB Drive With Disk Drill
Best first move when the drive appears in Disk Management or Disk Utility
~15–60 min
Scan the RAW USB Drive With Disk Drill
Best first move when the drive appears in Disk Management or Disk Utility
A RAW label usually means the operating system cannot interpret the USB drive's file system. Disk Drill can search the device below that damaged file-system layer, letting you preview recoverable files before saving them elsewhere.
- Stop using the RAW USB drive. Do not format it, copy anything onto it, or accept a repair prompt.
- Download Disk Drill from the official Disk Drill website, then install it on your computer's internal drive or another healthy device.
- Connect the RAW USB drive directly to the computer, open Disk Drill, then select the physical USB device rather than an individual volume.
- Click Search for lost data, then allow the full scan to finish if the drive remains stable.
- Filter the results by file type, date, or name. Preview several important files to check that they open correctly.
- Select the files you need, click Recover, then save them to a healthy drive with enough free space.

02 Create a Disk Image Before Scanning
Safer for a USB drive that disconnects, freezes, or produces read errors
~30 min–several hours
Create a Disk Image Before Scanning
Safer for a USB drive that disconnects, freezes, or produces read errors
Repeated scans put extra strain on unstable flash storage. A byte-for-byte image captures readable sectors in one file, so later recovery attempts can work from the image instead of repeatedly touching the original USB drive.
- Find a healthy destination drive with free space at least equal to the RAW USB drive's full capacity.
- Open Disk Drill, locate its byte-to-byte backup feature, then select the physical RAW USB device as the source.
- Choose the healthy destination drive for the image file. Confirm that the save location is not the damaged USB device.
- Start the backup, keep the computer awake, then avoid moving the USB drive during the copy.
- When the image is complete, disconnect the original USB drive plus store it safely.
- Load or attach the disk image in Disk Drill, scan it for lost data, then recover selected files to a separate healthy location.
03 Carve Files From the USB Drive With PhotoRec
Free fallback when folders or original filenames no longer matter
~30 min–several hours
Carve Files From the USB Drive With PhotoRec
Free fallback when folders or original filenames no longer matter
PhotoRec ignores the damaged file system, looking for recognizable file signatures instead. It may retrieve photos, documents, archives, or videos from a RAW USB drive, though filenames plus folder structure are commonly lost.
- Download the TestDisk package from the official CGSecurity website, then open QPhotoRec for a graphical interface or PhotoRec for the terminal version.
- Select the physical RAW USB drive carefully by checking its capacity. Picking the wrong disk can waste hours.
- Choose the relevant partition if one appears. If the partition layout is missing, select the whole device.
- Open File Formats, then enable only the file types you need to reduce clutter plus scanning time.
- Set the recovery destination to a different healthy drive, never the RAW USB device.
- Start the search, then inspect the numbered recovery folders after the scan finishes.
04 Rebuild the Lost Partition With TestDisk
Useful when partition metadata is damaged but the file system may still exist
~20–90 min
Rebuild the Lost Partition With TestDisk
Useful when partition metadata is damaged but the file system may still exist
TestDisk can search for lost partitions, display files from a detected partition, or rewrite partition information. This route may restore normal access, but a wrong write can make later recovery harder, so work from an image whenever possible.
- Create a complete disk image first. Do not experiment with partition repairs on the only copy of valuable data.
- Launch TestDisk with administrator privileges, create a log, then select the disk image or physical USB device.
- Confirm the partition-table type suggested by TestDisk unless you know the device uses a different layout.
- Choose Analyse, run Quick Search, then highlight a found partition.
- Press the file-list key shown on screen. Copy important files to a healthy drive if the expected folders appear.
- Use Deeper Search if needed. Write a recovered partition table only when the size, boundaries, file list, plus partition type all look correct.
05 Send the USB Drive to a Recovery Lab
Right choice for physical failure, irreplaceable files, or failed software scans
~3–14 days
Send the USB Drive to a Recovery Lab
Right choice for physical failure, irreplaceable files, or failed software scans
Software cannot fix a broken connector, failed controller, damaged circuit board, or worn-out NAND memory. A lab may access the memory chips directly, though flash recovery can be costly plus results are never guaranteed.
- Unplug the USB drive if it becomes unusually hot, smells burnt, appears physically bent, or disconnects every few seconds.
- Do not open the casing, resolder the connector, freeze the drive, or run repeated scans.
- Write down what happened before the failure, including any drop, power issue, format attempt, or repair command.
- Contact two or three established recovery labs, then ask about evaluation fees, return shipping, privacy, plus what happens if no files are recovered.
- Describe the exact device model, capacity, symptoms, plus the most important folders or file types.
- Pack the drive in an antistatic bag or protective case, then use tracked shipping if the lab is not local.
Which RAW USB Recovery Method Should You Use?
Scanning the RAW USB drive with Disk Drill is the sensible first move when the device stays connected plus appears in the computer's disk utility. Create an image first if the drive is unstable, use PhotoRec when a free file-carving option is enough, or try TestDisk only if you understand partition layouts. Physical damage or truly irreplaceable data belongs with a recovery lab.
Recover the most valuable files first, save them to another drive, then reformat or replace the USB device only after you verify the recovered copies.